If your Facebook leads are sitting in a CSV file instead of your CRM, you’ve already lost time—and maybe the deal.
The fastest way to fix it? Connect Facebook Lead Ads directly to Salesforce. That means real-time delivery, faster follow-ups, and fewer leads slipping through the cracks.
In this guide, you’ll get a breakdown of the most practical ways to connect Facebook Lead Ads with Salesforce—native tools, custom integrations, and a purpose-built alternative designed for performance marketers who don’t want to duct-tape workflows together.
Let’s get into it.
Why connecting Facebook Lead Ads to Salesforce actually matters
Most marketers don’t set out to delay follow-ups—but that’s what happens when leads trickle in over email or sit in spreadsheets for hours.
Here’s why a direct Facebook → Salesforce integration is worth the setup:
- Faster response times: Leads routed into Salesforce instantly can trigger immediate follow-up workflows—boosting conversion rates while intent is still high.
- No manual handling: Skip downloading CSVs, uploading lists, or chasing missing contacts. Everything flows automatically.
- Cleaner lead records: Automatically assign leads to the right owner, apply tags or campaign sources, and keep your CRM organized.
- Better retargeting: When Salesforce stays synced, your audience lists on Facebook and Google stay accurate—no more wasted spend.
5 ways to integrate Facebook Lead Ads with Salesforce
There are a few proven ways to connect Facebook Lead Ads with Salesforce. Some are built-in, others require developer work—but only one is built specifically for marketers. Let’s run through the main options:
1. Use Facebook’s Leads Center to sync directly to Salesforce
Facebook Lead Ads can connect to Salesforce using Salesforce’s official Lead Capture App, available through AppExchange. This sets up a direct sync—no third-party tools required—but it’s only available to certain Salesforce editions and requires admin setup. Field mapping is limited, and sync issues are common if forms or CRM fields change.
2. Use Web-to-Lead and Facebook’s webhook
For a more hands-on approach, you can use Salesforce’s Web-to-Lead endpoint and configure Facebook’s webhook to post form data. It works without middleware, but it does require some coding. Field mapping and validation will be minimal unless you build in extra logic.
3. Connect through Salesforce Marketing Cloud
If your team already uses Marketing Cloud, you can set up a Facebook Lead Ads integration through AppExchange connectors. It offers advanced syncing and campaign tools, but comes with a steep setup curve and licensing requirements.
4. Build a custom integration with the APIs
Both Facebook and Salesforce offer developer APIs. If you’ve got in-house dev resources, this gives you full control over how leads flow—from mapping fields to handling duplicates. But it’s time-intensive and requires regular maintenance.
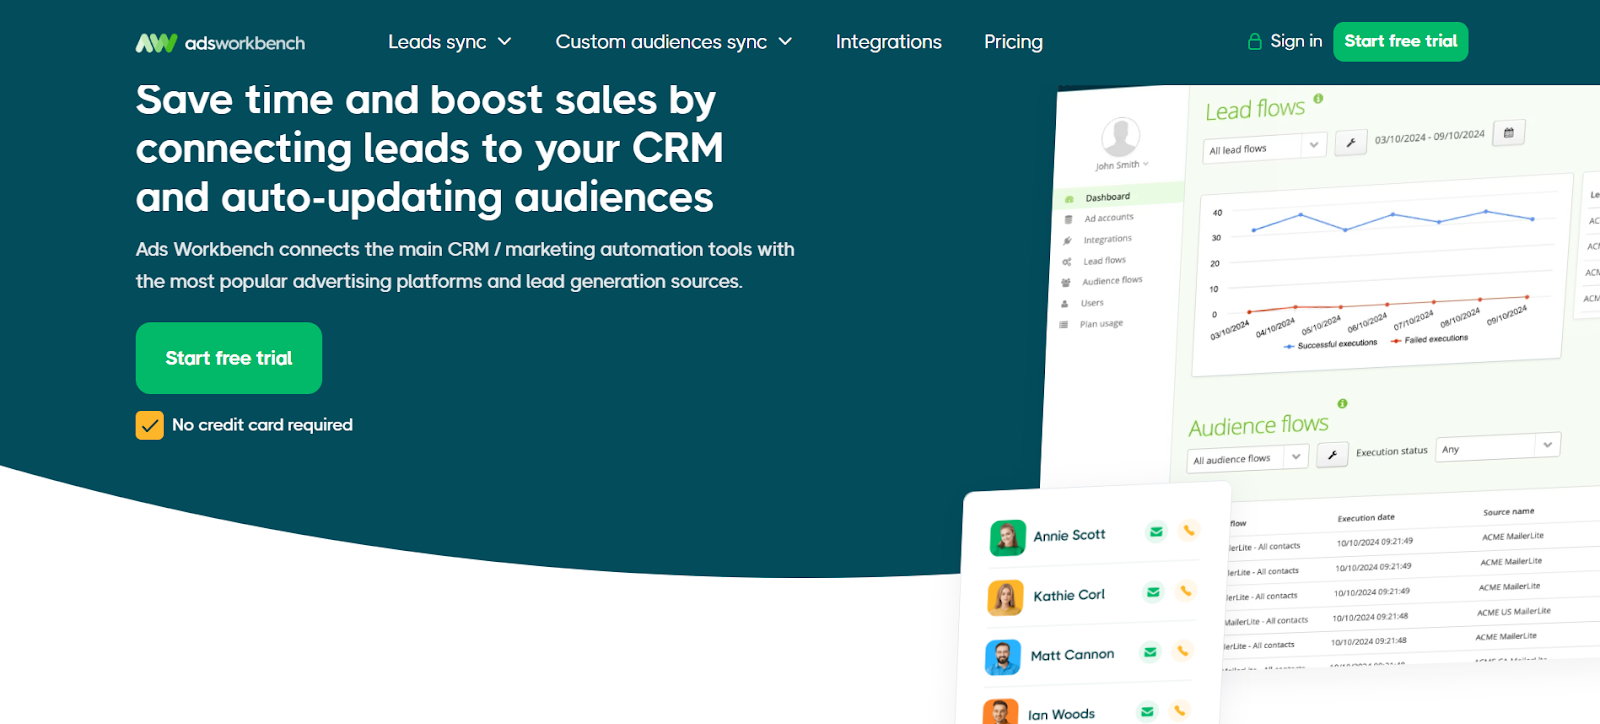
5. Use Ads Workbench (fastest option for marketers)
Ads Workbench was built to do exactly this—sync Facebook Lead Ads into Salesforce instantly, without code or complexity. It works in real time, doesn’t store lead data, and integrates cleanly with the platforms marketers actually use.
There are multiple ways to make Facebook Lead Ads and Salesforce work together, but most either take too long or break too easily.
Ads Workbench gives you a faster, cleaner way to ship leads straight into your CRM, with zero manual handling.
Best practices for Facebook Salesforce integration
- Map fields explicitly
Don’t rely on default mappings. Match each Facebook field to its correct Salesforce field—especially custom fields like “Job Title” or UTM parameters. Mismatches here lead to cluttered or unusable CRM data. - Set lead assignment rules in Salesforce
Configure assignment rules to automatically route Facebook leads to the right rep, region, or team based on lead source or campaign tags. This prevents new leads from sitting idle in a queue. - Capture and pass UTM parameters
Facebook forms don’t send campaign data by default. Add hidden UTM fields to your lead forms and map them into Salesforce to track which ads or audiences drive the most revenue—not just leads. - Apply validation filters
Use Salesforce validation rules to block incomplete leads (like missing emails or phones) or to flag low-quality submissions. This saves your team time and keeps your CRM clean. - Test your integration monthly
Edit a Facebook form or change a Salesforce field and your sync can silently fail. Schedule monthly test submissions to ensure leads are still flowing and fields are populating as expected.
Syncing leads is just the start. These practices make sure they’re clean, assigned, and ready to convert.
Common challenges with Facebook Salesforce integration
Most marketers assume once the connection is live, the job’s done. In reality, Facebook-to-Salesforce integrations break more often—and more quietly—than you'd expect. Here’s what typically goes wrong.
Field mismatches are the silent killer.
Facebook Lead Ads often use form fields like “Full Name” or “Work Email,” but Salesforce may expect those as two separate fields, or with different API names. If you don’t map them precisely, leads either show up half-complete or get rejected entirely. The form submits fine, but your CRM has no usable data.
Delayed sync times lead to cold leads.
Not all integrations run in real time. Some tools only push data every 15 minutes or batch it hourly. That lag might not seem critical—until your sales team calls 45 minutes late and finds a competitor already closed the deal.
You lose attribution without custom setup.
Out of the box, Facebook Lead Ads won’t pass along UTM parameters, campaign names, or audience data. That means you know where the lead came from (Facebook), but not which ad or campaign actually performed. Fixing this requires building custom fields into your forms and ensuring Salesforce can capture and report on them.
Integrations break silently after changes.
Change the name of a field in Salesforce. Edit a Facebook form. Update a page layout. Any of these can break the sync without throwing an error message. Most marketers don’t realize anything’s wrong until someone checks the CRM days later and finds no new leads.
You rarely get visibility into what went wrong.
Even when integrations fail, many tools don’t show error logs or failed syncs in the UI. You’re left guessing: was it the form? The mapping? The platform connection? Without alerts or audit trails, debugging becomes guesswork, and leads often vanish before anyone notices.
The real threat isn’t getting the integration live; it’s keeping it working. Without testing, monitoring, and clear error visibility, even the best-looking setup will quietly fail while your team assumes everything’s fine.
A simpler alternative: Ads Workbench
If you’re tired of fixing broken integrations or chasing down missing leads, you’re not alone. Most Salesforce connectors weren’t built for marketers running paid lead gen—they were built for admins or developers.
Ads Workbench skips the complexity.
It download Facebook leads to Salesforce in real time, without code, and without storing your data. No Zapier chains. No manual workarounds.
Built for performance marketers
Ads Workbench is made for ad managers, agencies, and in-house teams running Facebook Lead Ads and routing them to your CRM, HubSpot, or even automating workflows like sending Facebook lead ads to google sheets. It connects the tools you already use. Fast.
Real-time lead delivery
Leads appear in Salesforce the second they’re submitted on Facebook. No hourly batching or hidden delays. That means faster follow-ups and better close rates.
No-code setup
No developer required. Just log in, connect your accounts, and map your fields. Most setups take under 5 minutes.
Flat, transparent pricing
No usage tiers, no contact limits, no surprises. One clear price that scales with you.

Try Ads Workbench free today.
Connect Facebook Lead Ads to Salesforce in minutes. No devs, no delays.
How to Set It Up with Ads Workbench
Here’s what it looks like in action:
1. Connect Facebook Lead Ads
Once you're logged in, go to the Ad accounts section in Ads Workbench. Click Connect account → Facebook Ads and follow the prompts to log in and authorize access. Grant permission for Ads Workbench to manage and sync Lead Ads — this enables seamless data transfer into Salesforce.
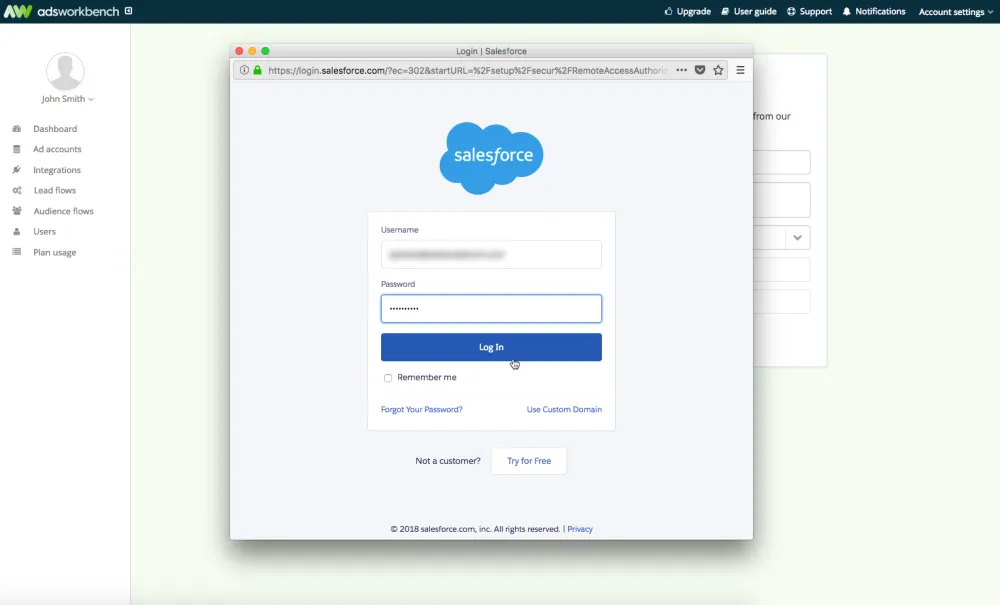
2. Connect your Salesforce account
From the main menu, head to Integrations, click Create new, enter a name, and select Salesforce Sales Cloud as the integration type. Click Authorize, then sign in (or pick) your Google account. Click Allow when prompted. Ads Workbench will redirect back, and your Sheets integration is now ready
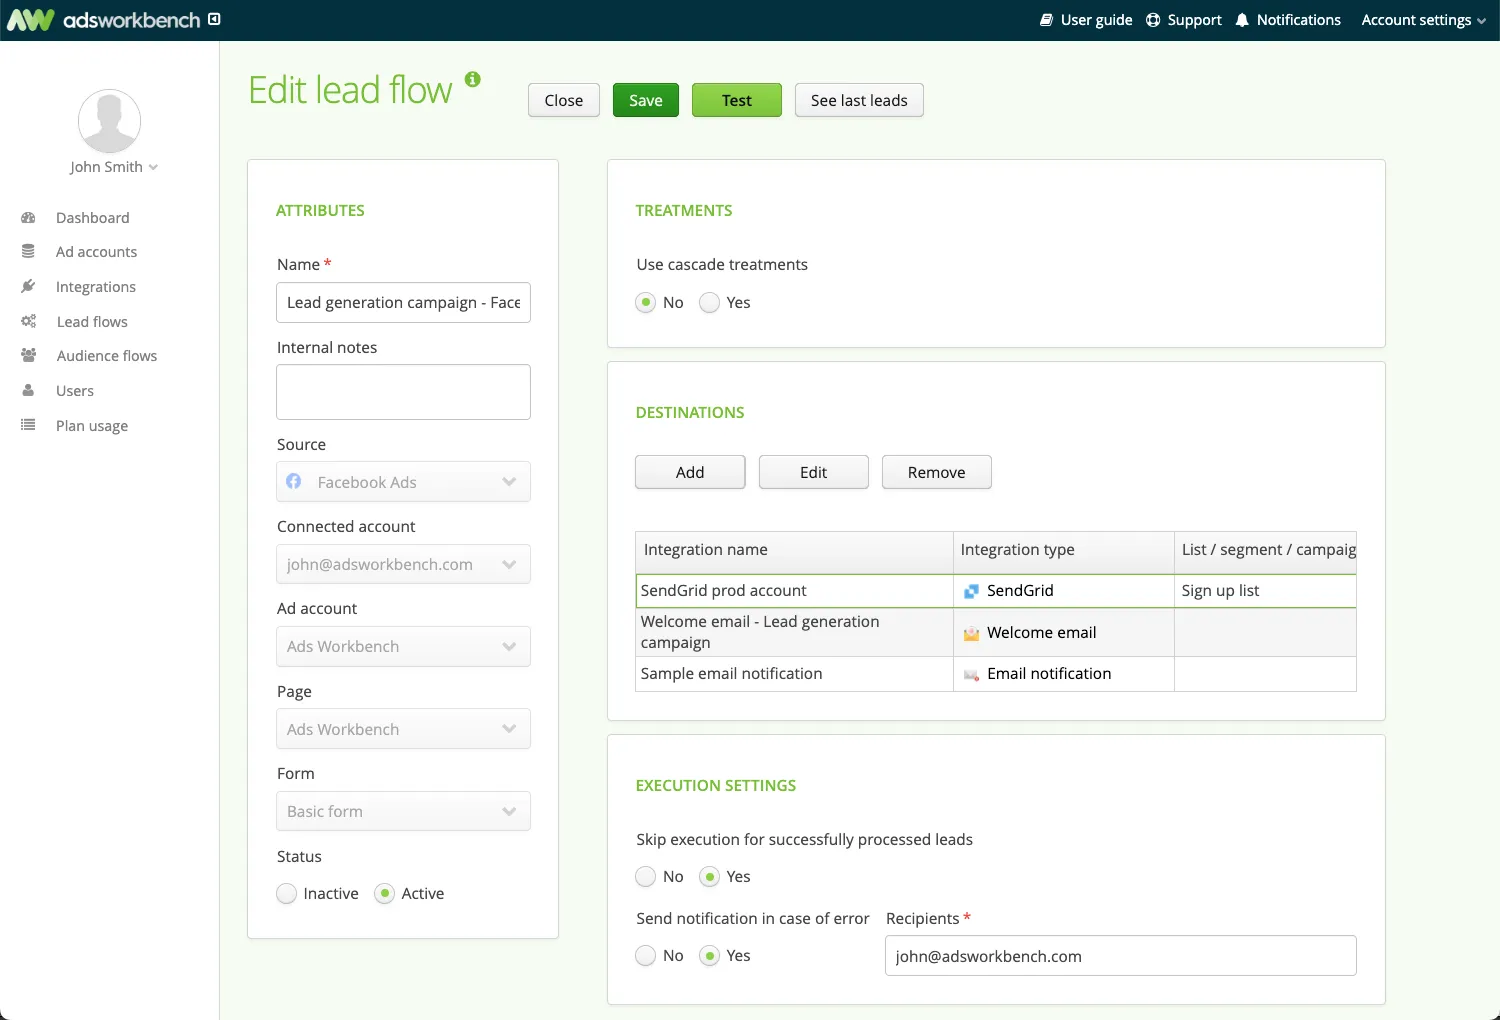
3. Set up automated data sync with a lead flow
With both your Facebook and Salesforce accounts connected, you're ready to create the automation that keeps leads moving—seamlessly and in real time.
3. 1 Create a lead flow
- Click Create new to start a new lead flow.
- Enter a name (e.g. “Facebook → Salesforce Sync”).
- Select Facebook Lead Ads as your source.
- Choose the connected Facebook ad account, select the corresponding Page, and pick the lead form you want to sync.
- Click Next to move to the destinations section.
3.2 Add Salesforce as a destination
- Click Add destination.
- From the list of connected integrations, select your Salesforce Sales Cloud integration.
- Enter the Spreadsheet ID and the Sheet name (case-sensitive).
- Spreadsheet ID is found in the URL between /d/ and /edit.
- Sheet name must match exactly the tab name in your spreadsheet.
3.3 Complete data mapping
- Ads Workbench will automatically map standard fields like email, first name, and last name if they match your sheet’s columns.
- Add any additional fields – such as campaign name, ad set, or custom hidden fields from Facebook.
- You can also set fixed values or mappings for UTM parameters or custom data—then save the mapping.
3.4 Adjust execution settings
- Choose behavior for duplicate leads: whether to skip or update existing entries.
- Add email recipients to notify in case of process errors.
- Use the Test execution button to validate mapping and formatting before publishing.
3.5 Activate and save the flow
- Switch the flow status from Inactive to Active.
- Click Save to finalize.
- Once active, leads will start populating Salesforce in real time. You can monitor and review recent lead executions or statuses via the dashboard.
Automate your Facebook lead workflow with Ads Workbench
If you’re running Facebook Lead Ads and using Salesforce, a real-time integration isn’t optional anymore. It’s how you protect speed, attribution, and pipeline.
Ads Workbench gives you exactly that—without code, without complexity, and without risking your lead flow.
Try Ads Workbench free
Set it up in minutes. Sync leads instantly. Get your CRM working like it should.